728x90
Goal: Windows, Visual Studio 2019 환경에서 OpenCV 4.6.0 사용하기
1. Go to https://opencv.org/releases/ and download OpenCV for Windows
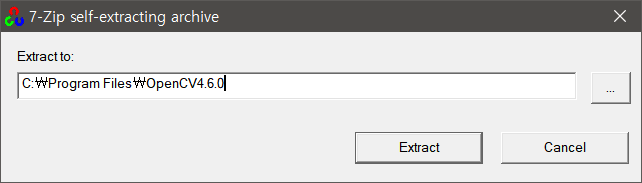
2. Run opencv-4.6.0-vc14_vc15.exe
3. Extract files on the directory
4. After finished extracting, set user/system environment variables
4-1. USER > add OPENCV_DIR = (YOUR_DIRECTORY) \build

4-2. SYSTEM > Path.add( %OPENCV_DIR% \x64\vc15\bin )

5. Install Visual Studio 2019 (https://docs.microsoft.com/ko-kr/visualstudio/releases/2019/release-notes)
5-1. Set workload for developing c++ on desktop (https://docs.microsoft.com/ko-kr/cpp/build/vscpp-step-0-installation)
6. Create a new empty project
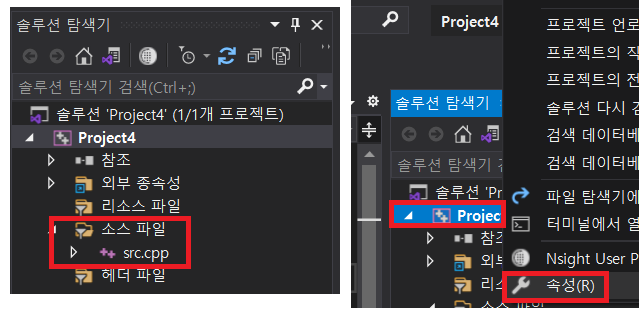
6-1. Add a cpp source file
6-2. Open Project Properties
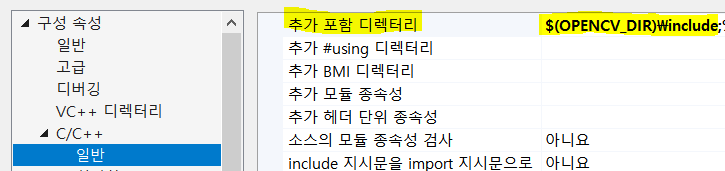
7. Setting Project Properties
7-1.


7-2.


7-3.


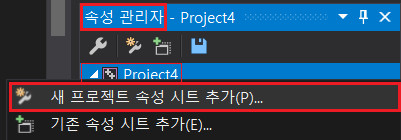
8. Save as a property sheet
8-1.

8-2.
9. Load property sheet

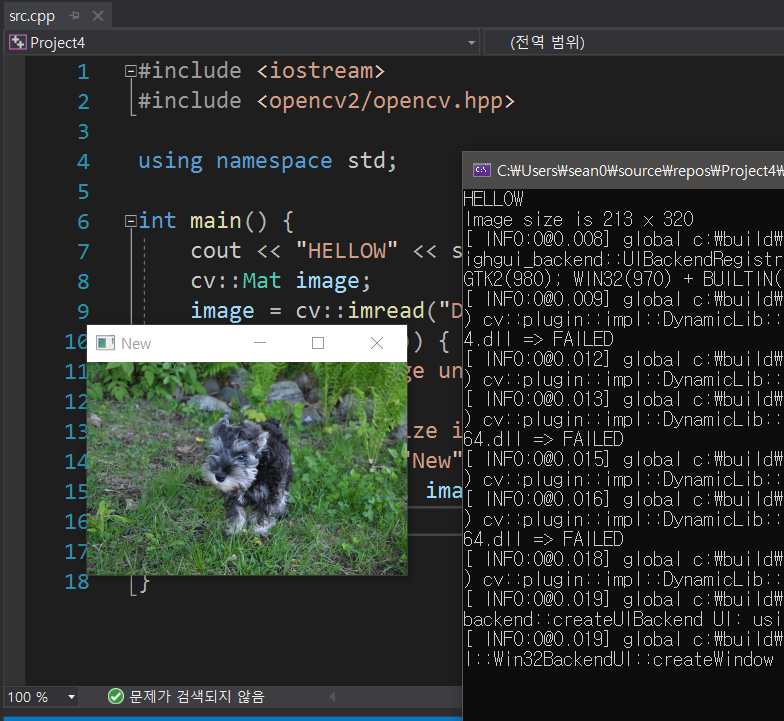
10. Hello, OpenCV
728x90
'Tip' 카테고리의 다른 글
| [Java] Stream to List (0) | 2023.04.12 |
|---|---|
| [해커톤] 웹 개발 팁 정리 (0) | 2023.04.02 |
| [Visual Studio] Error Code: LNK1168 Tip (0) | 2022.11.16 |
| [Java GUI Design- Eclipse] Using WindowBuilder Plug-in (0) | 2022.11.01 |
| Github Desktop Commit & Fetch (0) | 2022.10.13 |